In Memoriam: Tai'lahr
OpenUru.org, along with the rest of the Mystonline community, is mourning the loss of Tai'lahr on October 16th, 2019.
Rest in Peace, friend.
Using The Details Feature
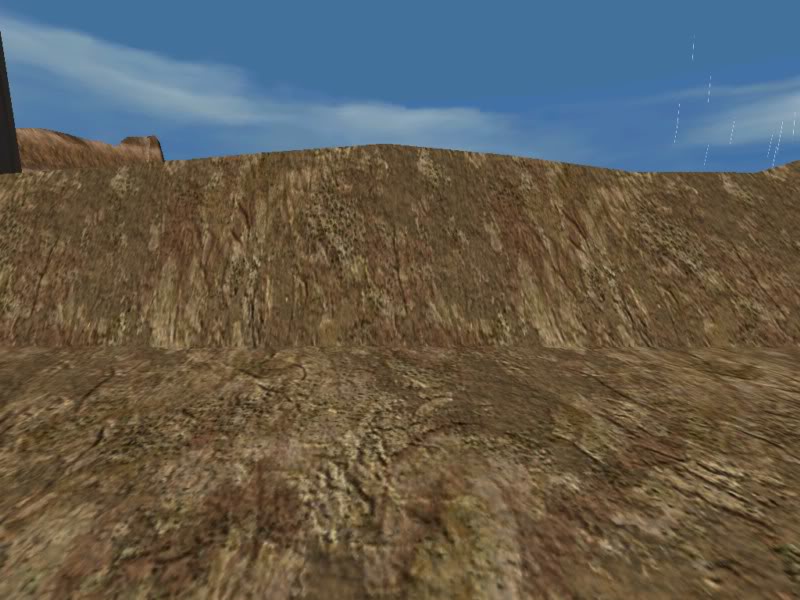
Okay, so you're making your age, and are having a great time. You've got some cliffs, or a large wall, or a wide open ground, or even all of those.
You texture them....and hit a problem!
If you UV map the texture so that it looks good from far away......it looks all blurry and smeared up close!
Okay, so you're making your age, and are having a great time. You've got some cliffs, or a large wall, or a wide open ground, or even all of those.
You texture them....and hit a problem!
If you UV map the texture so that it looks good from far away......it looks all blurry and smeared up close!
http://assets.openuru.org/wiki/andy/MaxTutPics1/KIimage0018.jpg
http://assets.openuru.org/wiki/andy/MaxTutPics1/KIimage0019.jpg
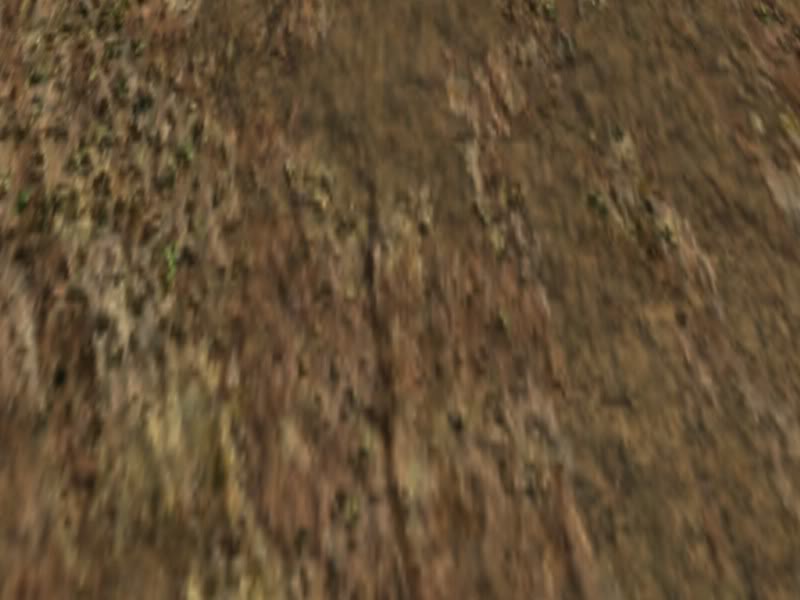
If you UV map it so it looks good up close, you have a very tiled looking object from far away!
HELP!
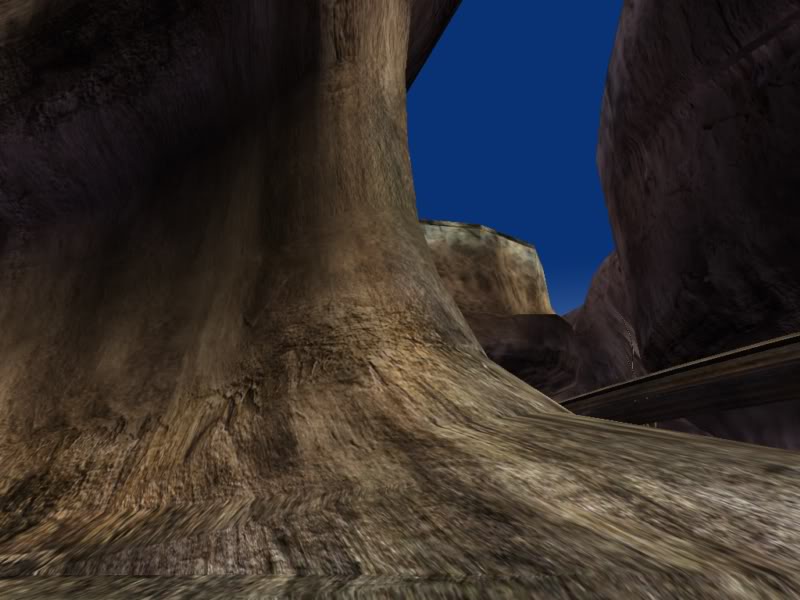
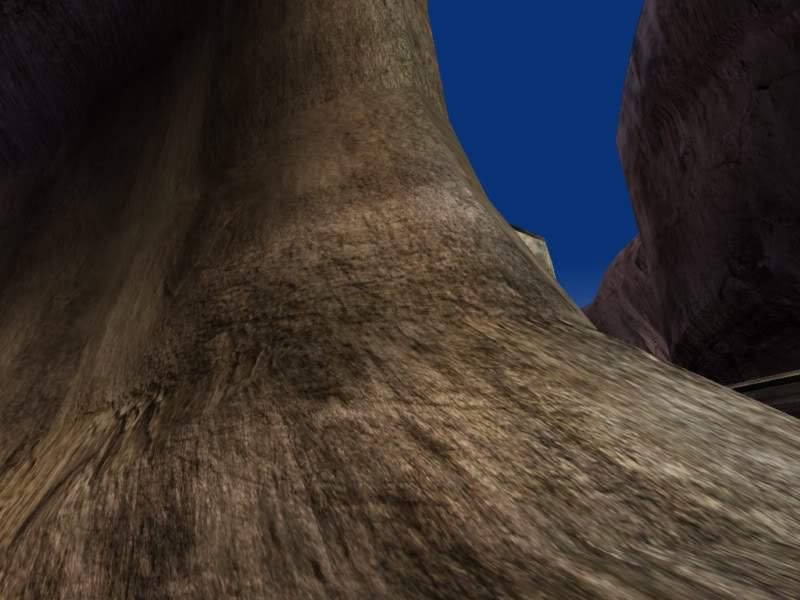
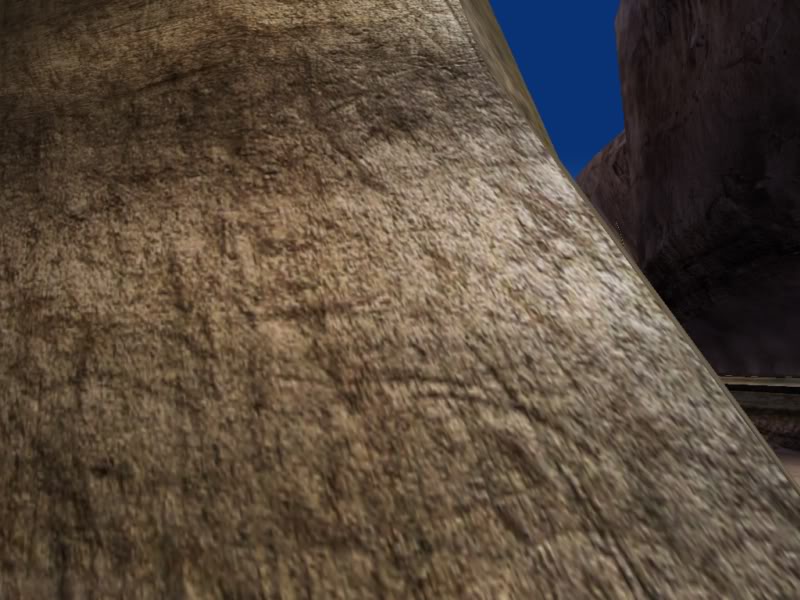
You go to Uru, and you link into places like Er'cana. You don't see that problem there. Like here on the cliffs in the canyon. They look good from afar, and keep looking good the closer you get!
http://assets.openuru.org/wiki/andy/MaxTutPics1/KIimage0043-1.jpg
http://assets.openuru.org/wiki/andy/MaxTutPics1/KIimage0044-1.jpg
http://assets.openuru.org/wiki/andy/MaxTutPics1/KIimage0045.jpg
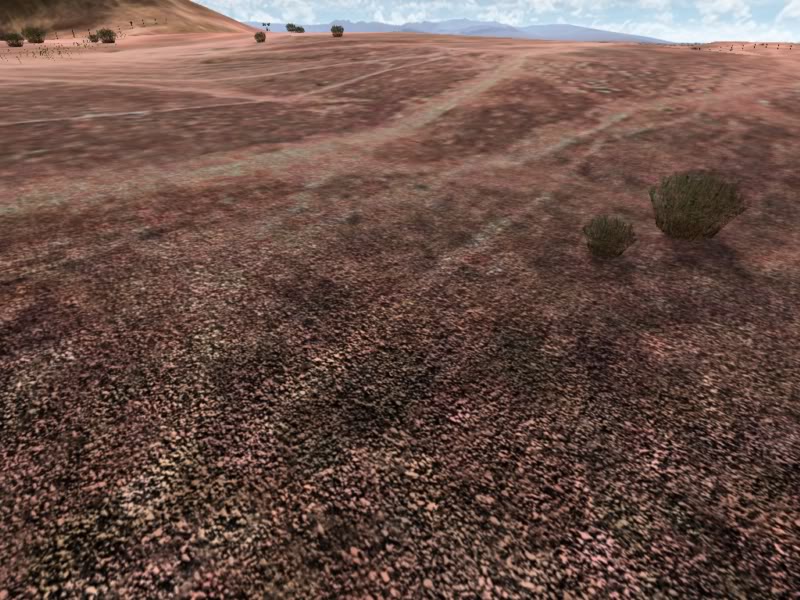
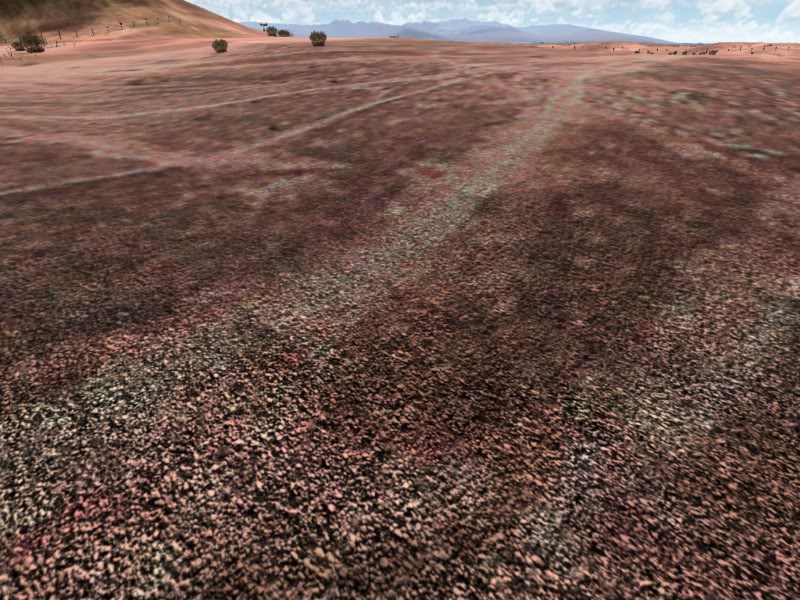
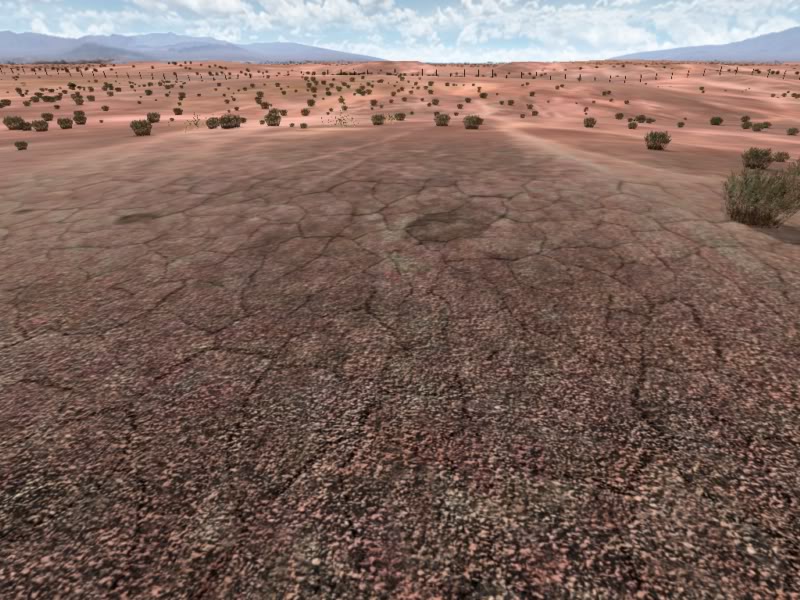
And when you go to the Cleft, the desert floor there has a lot of detail, but does not look tiled either! You even see mud cracks show up in places!
http://assets.openuru.org/wiki/andy/MaxTutPics1/KIimage0046.jpg
http://assets.openuru.org/wiki/andy/MaxTutPics1/KIimage0047.jpg
http://assets.openuru.org/wiki/andy/MaxTutPics1/KIimage0049.jpg
So what is going on here? How did Cyan do this?
They did this by using the "Detail" part of the material that you assign to your object.
Basically, you have 2 textures, one that is the base texture that is UV mapped to look good from a distance, and another detailed texture, that has a alpha channel in it, that is the top layer texture of the material.
From far away, the top texture is transparent. But as you get closer, it slowly becomes opaque until when you're very close, you see it, instead of the blurry base texture.
I'll show you how to do that.
Getting Started......
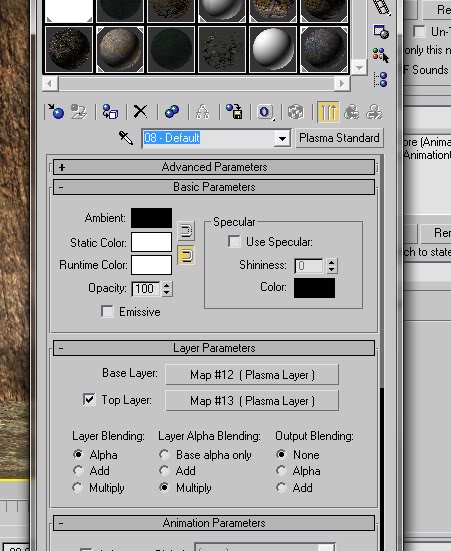
When you create your material for your object, you want to apply your base layer like you normally would. Use Plasma Standard as your material, and make your base layer the texture that the player will see from a distance:
http://assets.openuru.org/wiki/andy/MaxTutPics1/details1.jpg
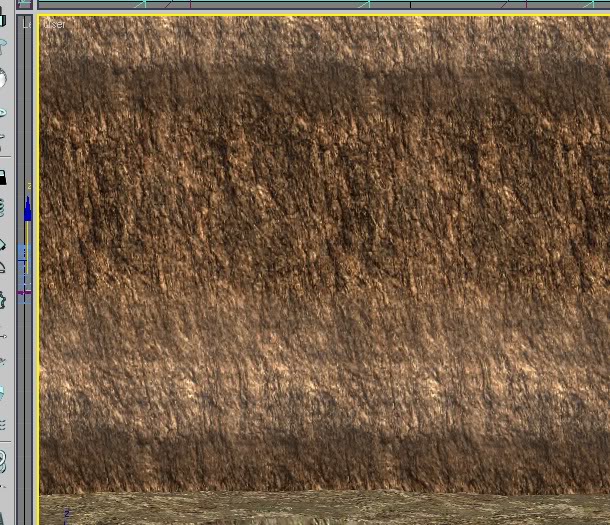
UV map it so it looks good from a distance:
http://assets.openuru.org/wiki/andy/MaxTutPics1/details2.jpg
Now you want to go to the Top Layer (by putting a check mark next to it), and you want to use another texture. I would suggest a different texture, but most important is to use one that has a alpha channel in it (transparency).
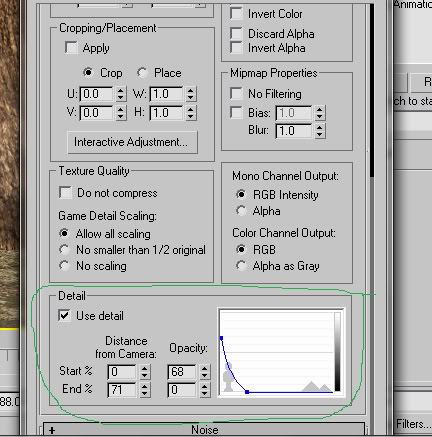
Once you get your texture assigned, scroll down in that layer until you come to the box marked "Details"
http://assets.openuru.org/wiki/andy/MaxTutPics1/details3.jpg
Make sure you place a check mark where it says: Use Detail
In the box that shows a person standing on one side, and mountains on the other, you'll see a blue line. This line represents how transparent the texture will be, based upon the distance that the player is from the object. You can see the numbers I'm using here, and they work good for me, but every situation is different and you may need to adjust these numbers to fit your needs.
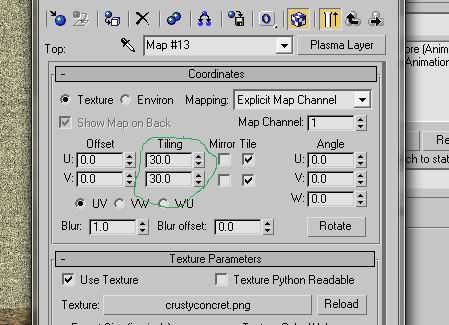
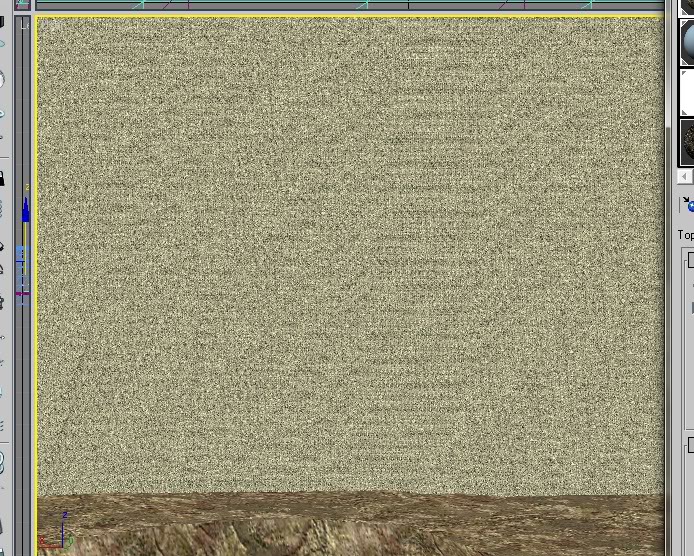
Once you have your detail numbers dialed in. You need to scroll up to the box called Coordinates. You need to adjust the numbers for the UV Tiling. Basically what you are doing here, is UV mapping this texture so that it is very tiled (you don't want to use the UV Editor, because that will mess up your UV mapping for the first texture).
http://assets.openuru.org/wiki/andy/MaxTutPics1/details4.jpg
Again, these numbers will be something you'll want to play with. In my case setting them to 30 worked good. And as you can see, boy is that texture tiled!!!
http://assets.openuru.org/wiki/andy/MaxTutPics1/details5.jpg
We do this because, we want the texture to look good when we get up close to the object.
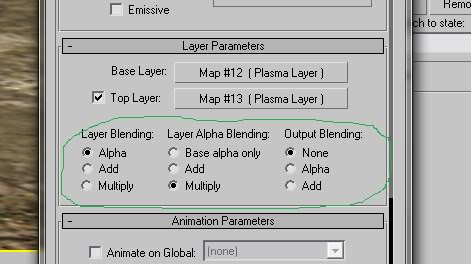
Now go back to your Material box and set the blending. I like to use Alpha, Multiply, None. You can mess with the middle one if you want, but the first one NEEDS to be Alpha, and I'd leave the base to None. Setting it to something else produces some weird effects for me.
http://assets.openuru.org/wiki/andy/MaxTutPics1/details6.jpg
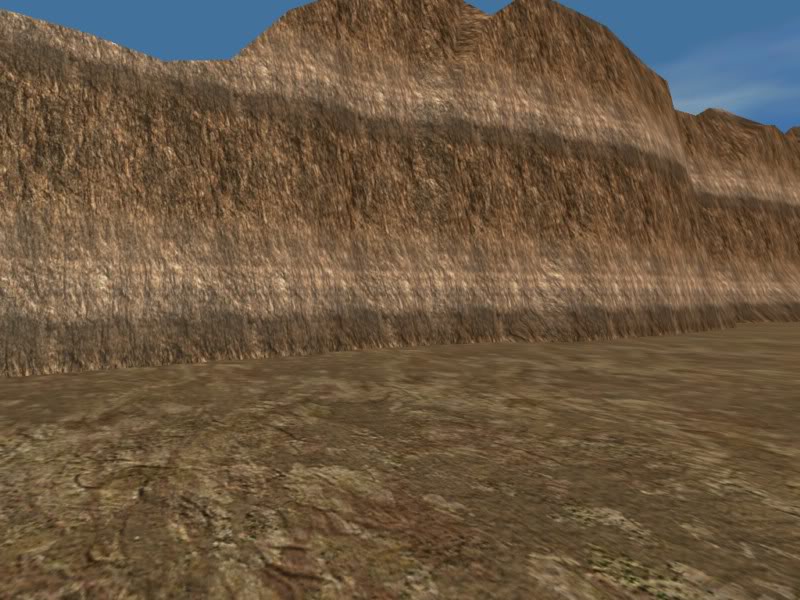
That's all there is too it. Export, and link in. You'll have to do this several times until you get how you want things to look right:
http://assets.openuru.org/wiki/andy/MaxTutPics1/KIimage0020.jpg
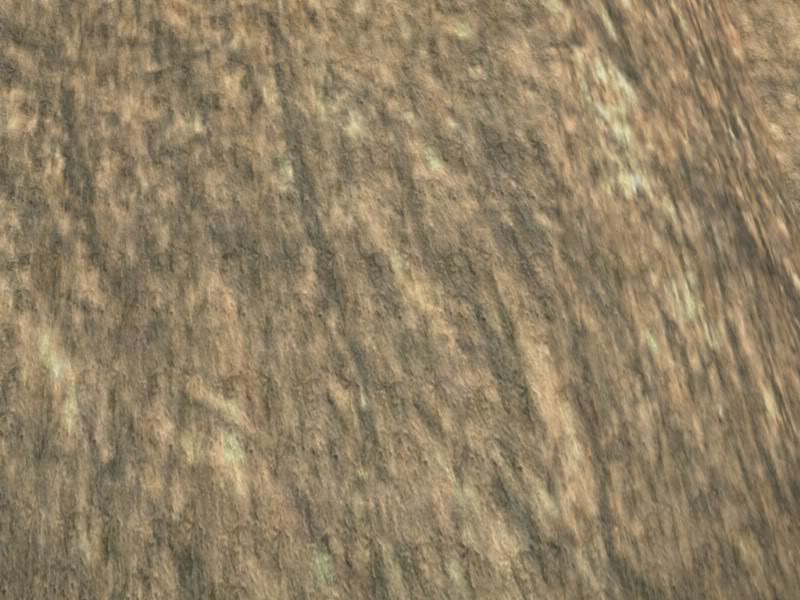
now up close:
http://assets.openuru.org/wiki/andy/MaxTutPics1/KIimage0021.jpg
Return To: 3DS Max Plugin Tutorials
A copy of the license is included in the section entitled "GNU Free Documentation License".